You don’t listen to the equipment, you listen through the eqipment.
― Bruce Swedien
A good recording space is essential for creating decent production value. In Step 1, we talked about the basic gear needed to start recording; in this step we will discuss how to set up a space to actually get to work in.

You will spend a lot of time in your recording space, so you want it to be effective, but also comfortable for you. But what makes a good recording space in the first place?
The quietest room or space in your house is where you should look first. Consider:
You need enough room to sit or stand comfortable as well as fit your equipment. Also consider ways to keep yourself warm or cool in the space. Even if a space is not ideal, there are lots of ways to make a good recording space even better
The answer: with soundproofing and acoustic treatment.
Both are aimed at reducing the noise floor, the ambient and unwanted noise that makes it onto a recording. Rustling clothing, whirring electronics, and any other unwanted noise in the environment contribute to the noise floor.
Soundproofing refers to blocking out noise. That means you can’t hear the outside world: like traffic, construction, neighbors, barking dogs, airplanes, and so forth. You also don’t want to hear the inside world: like footsteps from within the house, banging cabinets, kids, pets, fans and AC units, or even the heat turning on and off.
Soundproofing can get expensive quickly. But you can almost always start with things you already own.
Here is a helpful article on 20 Ways to Soundproof a Room Cheaply– so if you are just starting out, like me, you won’t break your bank.
Acoustic Treatment means absorbing or dispersing sound within a space. It reduces reverberations and echos from noises within the room, i.e. your speaking voice or any sounds that made it past the soundproofing. The steps you took to soundproof your space will also improve the acoustics, but there are more options to consider.
After your space has been treated for sound, it’s time to set up the gear you will use. Before you jump into full time recording, consider testing the sound floor of your space: turn on your mic and exit your recording area, letting it record in the empty room. You may then want to make adjustments to your sound treatments.
You will spend a lot of time in your recording space, so it is important to make it comfortable. Do you want a traditional desk or a standing workspace? Is the lighting easy on your eyes? Set up your area so that you can work productively.
Tip: Mark where you stand with a piece of masking tape so that you can recreate the same position every time.
It is best practice to keep the computer drive (and it’s noisy fans) as far away from the microphone as possible. But many people want access to their DAW during the recording process.
If you have a desktop, position the drive outside the recording space, purchase longer cables if you need to, and set up only the monitor and keyboard in the recording space with you.
With a laptop, it isn’t really possible to separate the drive (and it’s noisy fan), so use a shelf or desk to keep it as far from the microphone as possible.
Tip: Make sure to cover your desk or any shelving with soft cloth to reduce unwanted noise.
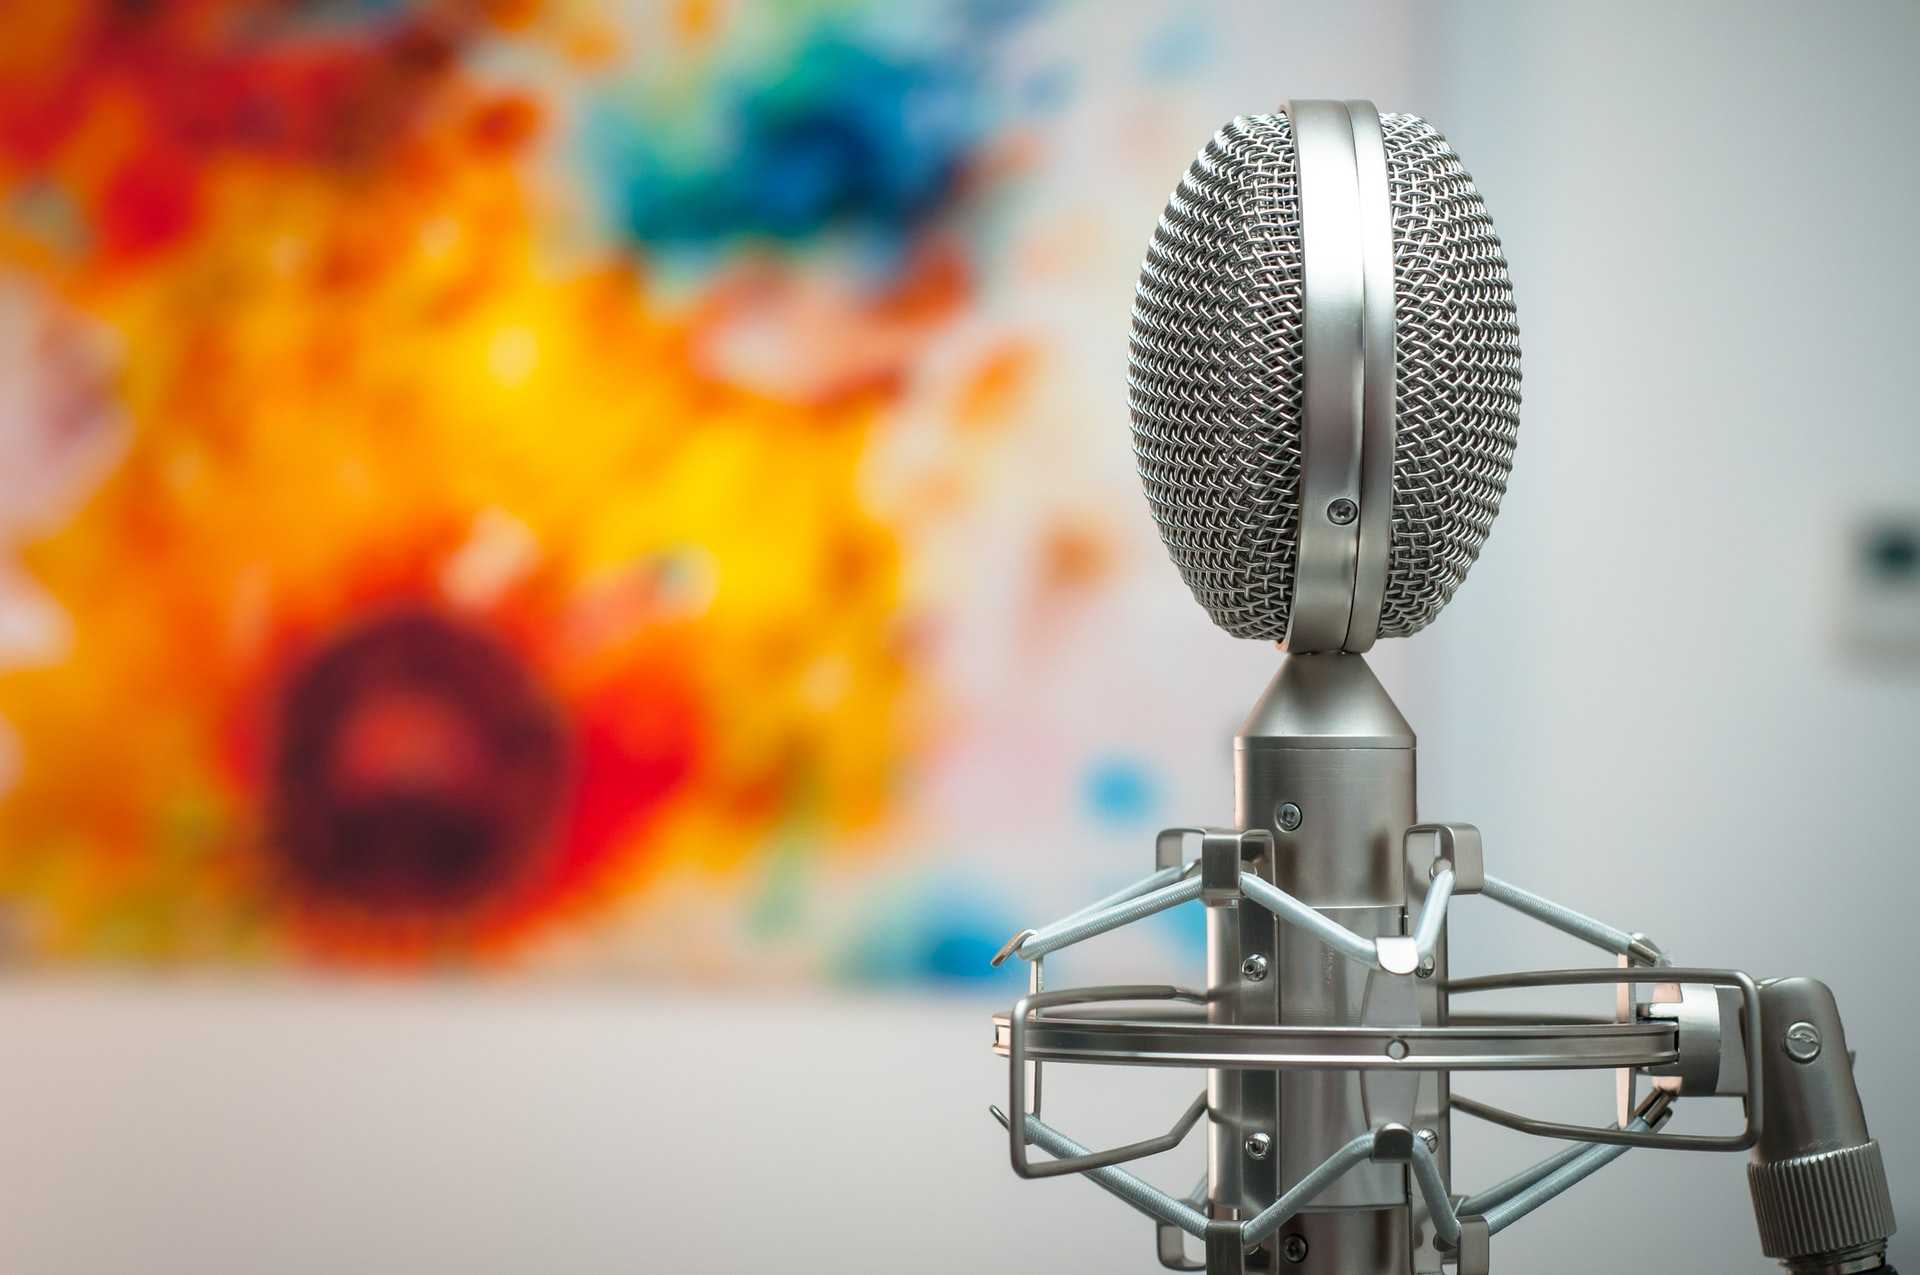
Position the microphone 10-12 inches from your mouth, test the sound, and adjust the distance as needed. Make sure it is directly in front of you and that you are not talking into the side of the microphone. To reduce plosives, angle the mic roughly 20-30 degrees away from you.
There are heaps of microphone stands and boom arms available online. Consider your needs, and don’t think you have to start out with the most expensive option. You can always test out a few until you find the one that works for your setup.
Short of building your own studio, a portable whisper room or soundproof booth is the best option for a recording area. They are self-contained, semi-portable, quiet rooms. They range in quality, sizes, specs, aesthetics, and materials. However, they are expensive…as in $2500 and up.
A quick search will turn up a variety of options, but since they are waaay out of a typical budget, I’m only mentioning them here briefly.
Disclosure: This post may contain affiliate links, meaning at no additional cost to you, I will earn a commission or compensation if you click through and/or make a purchase. The opinions and recommendations expressed here are my own.


I've had the travel bug for as long as I can remember. My hope is that I can help others find their own adventure.
You don’t listen to the equipment, you listen through the eqipment.
― Bruce Swedien
― Robert Louis Stevenson
Travels with a Donkey in the Cévennes
